Trigger-based data collection allows users to set up a set of data points to be collected when a specific trigger event occurs on the machine, as detected by a change in the value of any one data point. This means a trigger-based collection job might collect data several times in a minute, or only a few times in a day. This article explains how you can get started with your own trigger-based collection setup.
- Set Up Devices
- Define the Collection Trigger Data Point
- Define Trigger Data Points
- View Trigger Data
Set Up Devices
In the SERVICE application, on the Admin > Machines page, search for the machine you want to configure, then select the Devices icon ![]() to open that machine’s Devices page.
to open that machine’s Devices page.
If you can’t access this page, reach out to your ei³ SERVICE administrator for assistance.
You can either modify an existing device defined in ei³ for the machine to use trigger-based data collection, or create a new one. To create a new device, select the icon to open the device creation page. You will need to choose one of the two defined device types from the Manufacturer – Category drop-down.
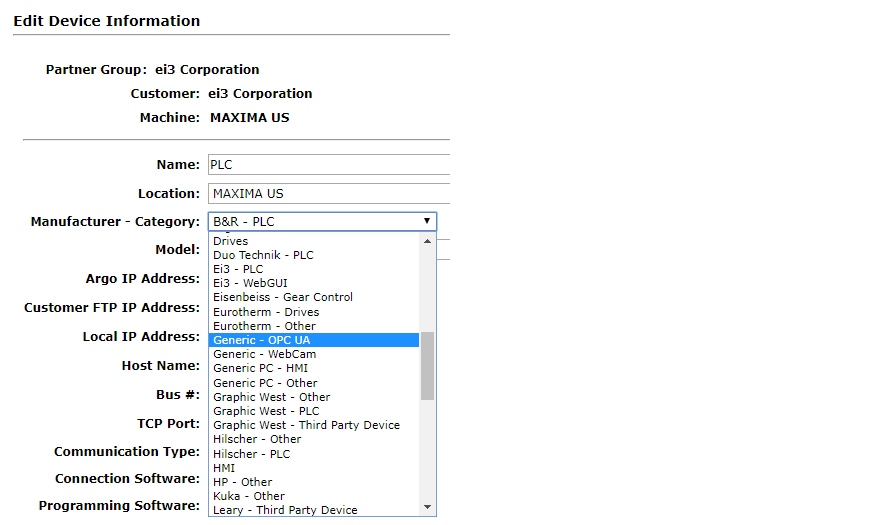
Currently there are only two device types (Manufacturer – Category values) defined in ei³ which support trigger-based data collection. These are:
- B&R – Milacron
- Generic – OPC-UA
Click the Save icon ![]() at the bottom of the page once you’re done with entering all the device information.
at the bottom of the page once you’re done with entering all the device information.
Define the Collection Trigger Data Point
A single data point on the machine must be defined to use the data point Tag Type called Collection Trigger. You can designate this data point by selecting the Collection Trigger type for that point from the Tag Type selection menu on the Edit Data Points page.
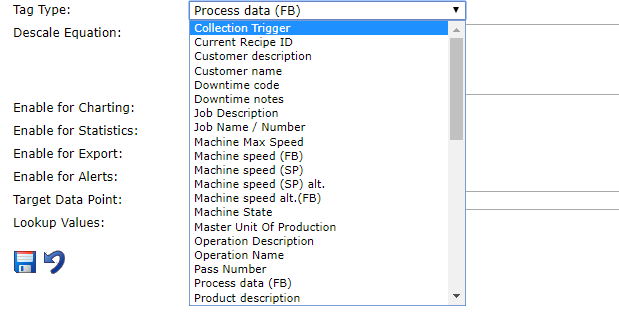
Remember that only a single data point per machine (not per device) can be set as the Collection Trigger. Whenever the Collection Trigger data point changes its value, then all data points defined for the machine as Trigger points will be collected. To set these up, see the next section in this article.
You can also apply a scale equation to Trigger data points on this page, if one is needed – the values are stored in ei³’s web-based cloud and are accessible via existing API capabilities. Select a Scale Type from the drop-down menu and then enter the values for the scale equation as needed.

Keep in mind, however, that scale equations are not applied locally in Amphion Edge devices during collection. The scale equations are applied by the ei³ cloud upon receipt of the data from the Amphions.
Move the Collection Trigger Data Point to Another Device
If you need to move the Collection Trigger data point to another device, follow these steps:
- Stop data collection on the machine.
- Change the Tag Type of the original Collection Trigger data point back to “Process data (FB)”.
- Pick another data point as the Collection Trigger.
- Start data collection by clicking the red “Stopped” button under Admin > Machines.
Please note that this requires two or more devices that allow Trigger data collection and that you must configure all relevant data points before applying this procedure.
Define Trigger Data Points
Once a device is defined as the source of the Collection Trigger data point, and a data point has been defined as the Collection Trigger, the next step is to select the trigger data points on the machine; these are the points that will be collected every time the trigger event occurs. An administrator can do this from either the SERVICE application or the Customer Portal.
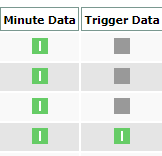
In the Admin Tools > Data Points page in ei³, choose the points you would like to enable for trigger-based collection by clicking icons in the Trigger Data column (scroll right on the page if you don’t see it). The icon will toggle from disabled ![]() to enabled
to enabled ![]() . You can always toggle it back if needed.
. You can always toggle it back if needed.
Please note that Trigger Data can be collected from multiple devices.
View Trigger Data
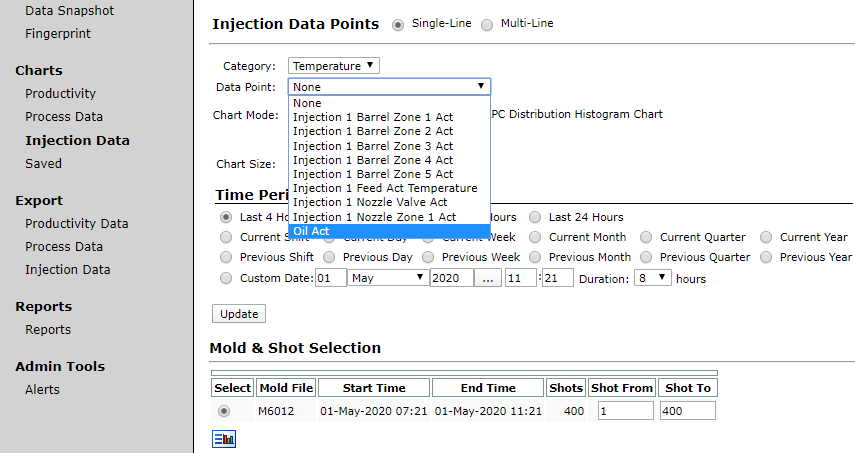
For ei³ customers with this feature enabled, you can view your trigger data in the Customer Portal, under MONITOR > Charts > Injection Data.
© 2023 ei3 Corporation. Content of this web page is proprietary to ei3 Corporation.
