This article describes how to add, edit, or remove points using Excel files. For instructions on using XML files do this, check the article on adding, removing, or editing data points via XML.
You can use Excel files to easily add, edit, or remove data points on your machines. When properly set up to match the required format, an Excel file’s contents can be copied and pasted into ei3 for importing as machine data points with just a few clicks.
To import data points, use an Excel file (such as .xls .xlsx and others), the Excel file must match the required format. The best way to do this is to export a file from another machine first, and use the file as a template for this procedure.
If the data points already exist on another machine, you can export them directly to your computer in a few simple steps.
Exporting Data Points
On the Data Points page, click the Export XLS Template icon ![]() to download the file to your computer.
to download the file to your computer.
First, select the existing machine in ei3 from which you’d like to get the data points settings. Then, go to the Admin Tools > Data Points web page in ei3 for that machine.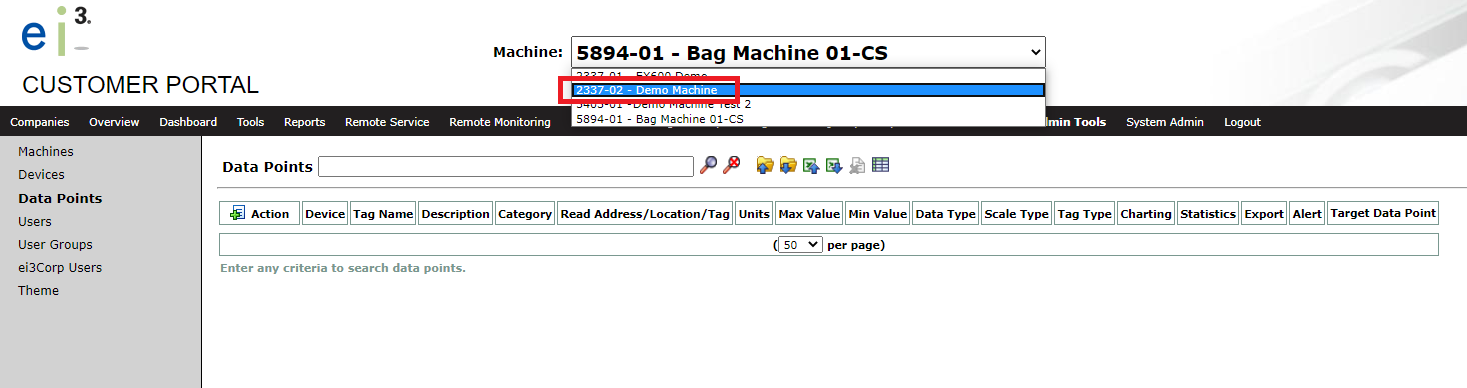
Adding, Editing, and Deleting Data Points in Excel
Once you have a template file using the correct format, you can make changes to the data points in the Excel file that are needed for a different machine, as long as you maintain the format. Do this, open the file in Excel, make any changes you’d like, and then save it with a new filename.
Adding New Data Points: You can add points either by entering all the required information manually in a new row, or by copying and editing rows for each new data point.
Edit existing points: You can edit the data point information for any
data points such as: Tag Name, Category, Min/Max values, etc., as long as the format is maintained.
Deleting Data Points: You can delete a data point simply by deleting the row.
When making changes to the Excel file, each field must be compatible with the accepted format for the data points. For more details on the formatting and accepted values, see this article.
Once complete, save the file using a new file name, to help you identify for which machine it is intended to be used.
Importing Data Points
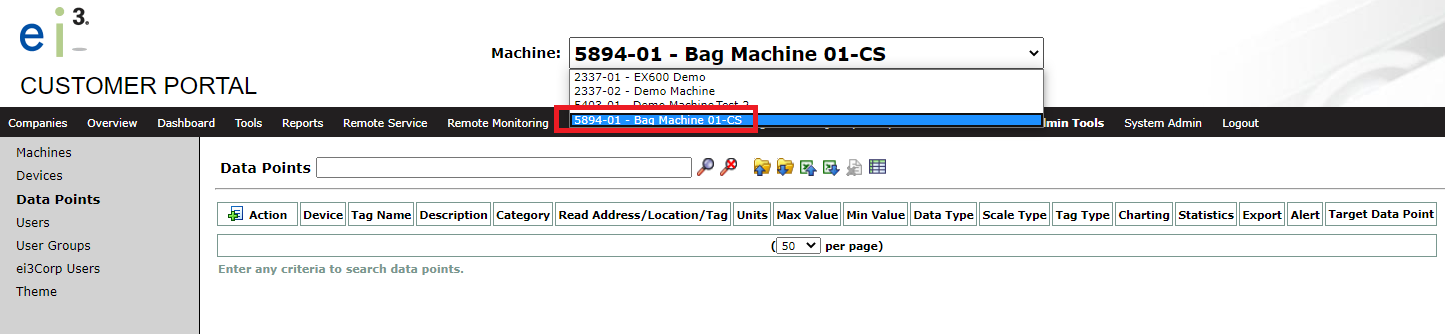
Navigate to the machine you’d like to import the points to.
On the Admin Tools > Data Points page for your target machine, click the Import XLS Template icon ![]() to open the file import page. Upon selection, a page will load with a blank text field, into which the data from the intended Excel sheet will be copied using the following instructions. The Import Data Points page will at first look like the following, with a blank window:
to open the file import page. Upon selection, a page will load with a blank text field, into which the data from the intended Excel sheet will be copied using the following instructions. The Import Data Points page will at first look like the following, with a blank window:
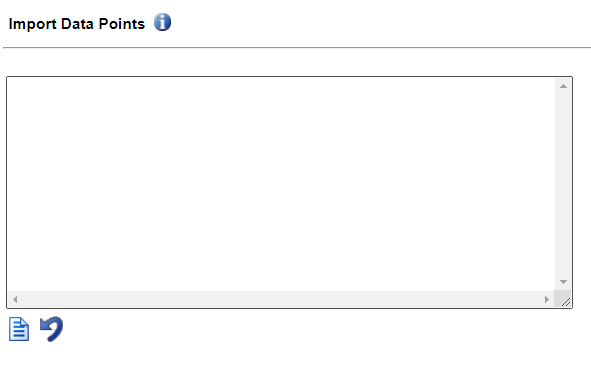
Please note: the Excel file will not be imported directly – instead you must open the file in Excel, and then copy the file contents from the file, and paste them into the open text field provided in the Import Data Points web page. If done properly, the system will recognize the data and import the new data points settings from the contents of the file pasted in this window.
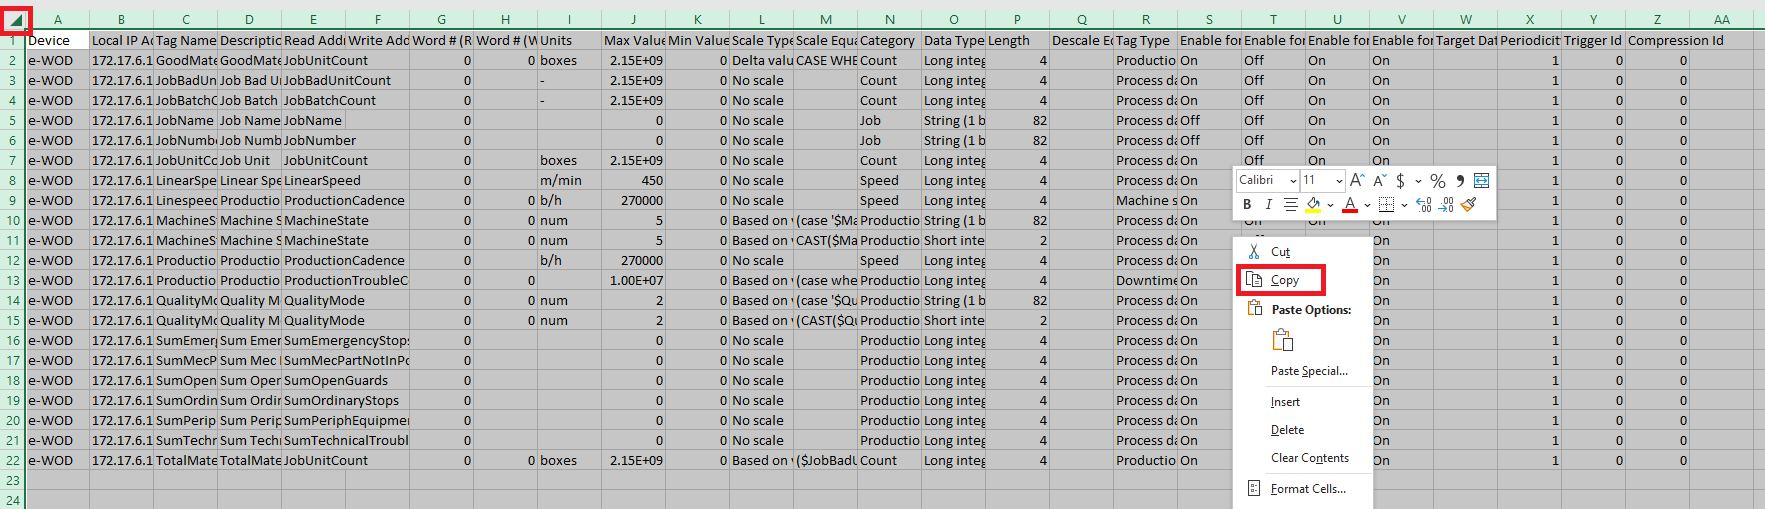
Next, open the Excel file, then click on the top left corner of the Excel file to select the entire sheet as in the example shown below. Right-click your mouse and choose the “Copy” option.
 Next, paste the text you copied from your Excel file into the text field provided. A successfully pasted file would look similar to the screenshot shown below.

Validating, Mapping, and Updating Points
Once the data point settings are successfully pasted into the text window like this, click the ![]() icon to validate your points.
icon to validate your points.
If there are any validation errors, the points will not be saved, and relevant error messages will be displayed at the top of the page.
In order to successfully import points, all columns from the Excel file must be listed in the text field, in the proper order, and the columns must contain the proper syntax. These columns and details are listed in this article.
Upon successful validation, you will be taken to the Device Mapping page. Here, you can choose which device(s) to which the data points will be associated. You will also select whether you are adding new points, updating existing points, or deleting and replacing the existing points.

- Add: Add only new data points to the machine. This is used when there are no existing data points yet.
- Update: Update existing data points by applying changes made to them, and add any new (not existing) data points.
- Delete: Delete all existing data points and replace with the new data points.
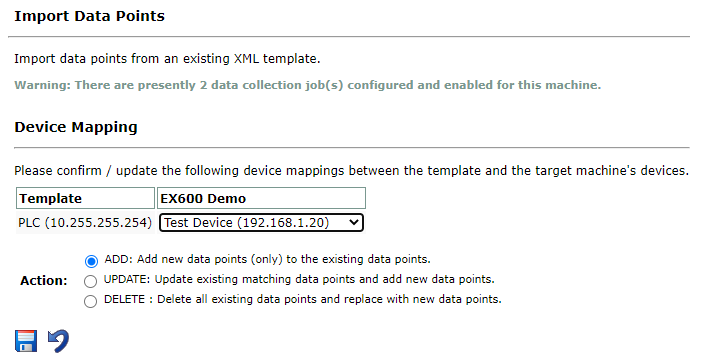
Choose the device to which you’re associating, or mapping, the imported data points. If the device isn’t listed see this article on creating machine devices, or contact us for assistance.
Click the Save icon ![]() . A confirmation window will appear – click OK.
. A confirmation window will appear – click OK.
The main Data Points page will load, displaying a confirmation message.

By default, this page load with just the search window and no points displayed. You can use the * symbol to search for all data points. Remember to review the newly added points for accuracy.
© 2023 ei3 Corporation. Content of this web page is proprietary to ei3 Corporation.
