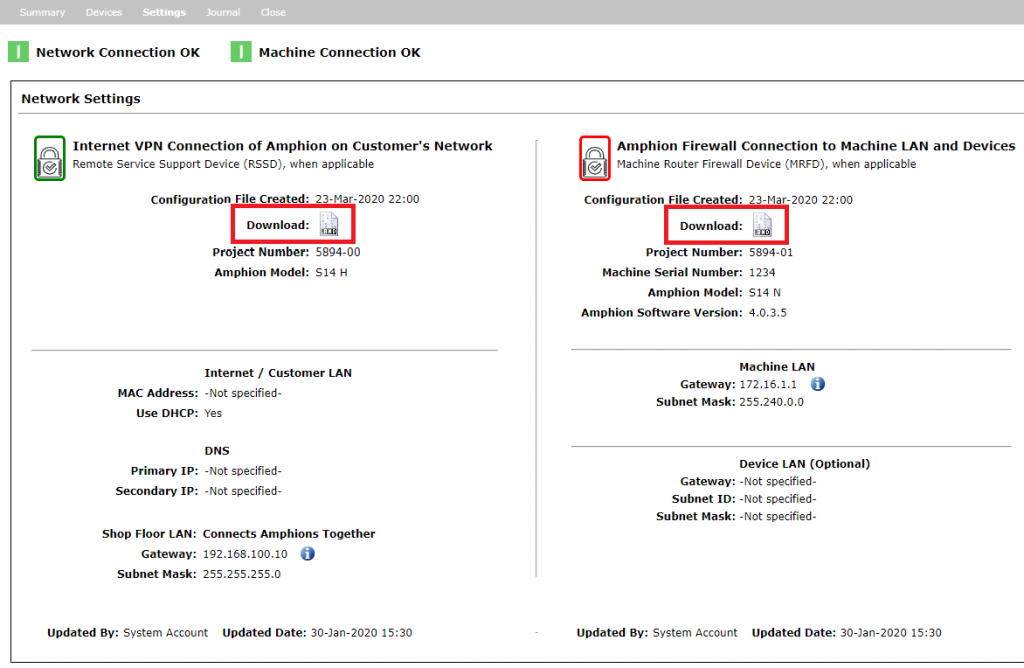
All current Amphion models S14H (green box), S14N (red box), and S14C (black box) configuration files have a special file type ending in .ei3.
For Model 14K Amphions, follow these instructions as the light patterns are different than other Amphion models.
The Amphion looks for files with this file type, as appropriate for the device that the file will be used to configure. The configuration file is used by copying the patch (.ei3 or .PATCH) file onto a portable USB drive formatted as either FAT or FAT32. It is recommended not to use a USB drive larger than 32 GB. The USB drive must have only one patch file at a time in the root directory of the USB drive.
- You can access the most recent configuration file from the Settings tab on the Preview Machines page. If there is none listed, contact your administrator for a configuration file.
If you need to make changes to your network information, please see this article. If you can’t edit this information, contact your administrator for assistance.
- Save the patch file onto an empty FAT 32 formatted USB stick.
Note for Mac users: When you copy a file, MacOS will create a hidden file with the similar name as the original with a ‘._’ added to the beginning of the filename.
For example:
6244-00_S14_C_7955.ei3
._6244-00_S14_C_7955.ei3
Because there’s two .ei3 files you will get a failed patch LED pattern.
The resolution is to delete that hidden file, and the patch will process normally. - Unplug everything from the box.
- Insert the USB stick into the top USB slot of the box. Make sure that the patch file is the only configuration file in its root directory, generated for that particular box.
- Power on the box.
- Wait up to 8 minutes through a series of different light on and off patterns, until you see the Success pattern of all 4 lights flashing together once per second.
If the Success light pattern does not show up it means the box did not properly configure. Retry this process starting from Step 2. If the Success pattern appears, continue to Step 6.
- Unplug everything from the box.
- Install box normally and power up.
Green box: internet cable to Internet port, ShopLAN cable to ShopLAN port;
Red box: Shop LAN cable to Shop LAN port, machine LAN port to PLC or machine hub;
Black box: Shop LAN cable to Shop LAN port, machine LAN port to PLC or machine hub. - After 3-5 minutes, look for blue light flashing on the green box to signal connection to the internet and blue light flashing on the red box to signal connection to the green box.
Note: If you have a poor internet or network connection, the time for the blue light to flash in step 8 may take longer than estimated. Please be patient during the configuration process.
For details on Amphion LED meanings and LED patterns, see this article.
If there are any issues, please report the results back to care@ei3.com.
© 2024 ei3 Corporation. Content of this web page is proprietary to ei3 Corporation.

