The guide below provides a step-by-step outline on adding a new company, its divisions, as well as machines and their devices. Note that some or all of these capabilities may not be available to some users. If you need assistance with any customer or machine creation, contact us for assistance.
There are 6 menu items that need to be completed in order to bring a new customer online.
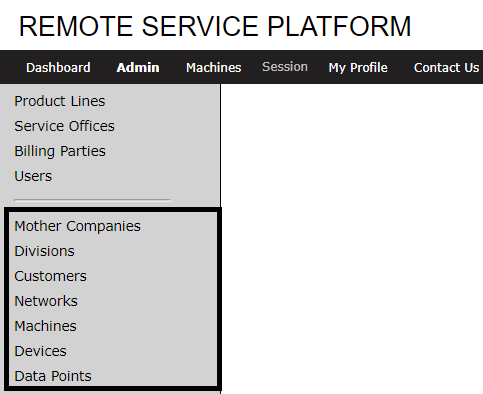
Information cannot be entered into a menu item until the item above has completed information. For example, Machine level information cannot be added until there is a Network defined.
Mother Companies
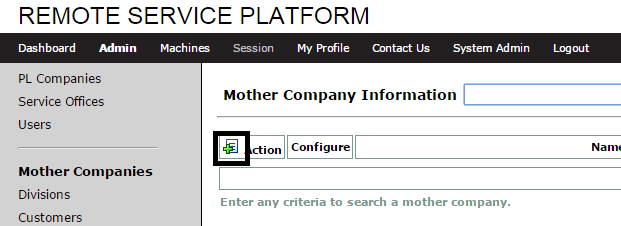
Before adding a new Mother Company to the platform, search to see if the company has been added previously. This can be done by typing an asterisk (*) or some combination of the first few letter of the Mother Company name.
Click the ![]() icon to open the Company creation page.
icon to open the Company creation page.
Enter the Short and Official Name of the Mother Company. Both fields are required.
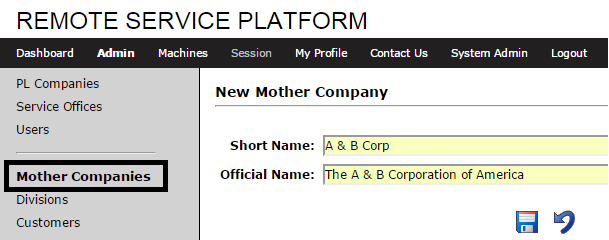
- Short Name – the common or colloquial name of the Mother Company
- Official Name – the formal or full name of the Mother Company
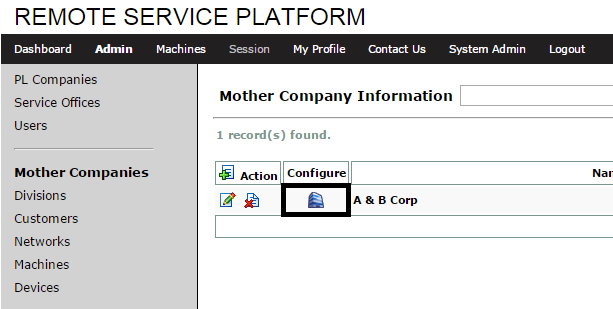
Divisions
Click the icon to add a new Division to an existing Mother Company.
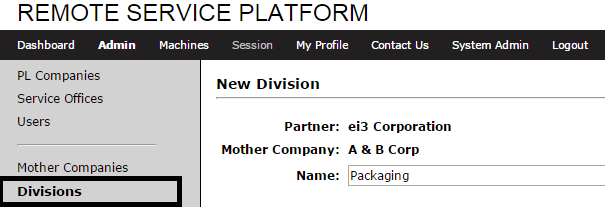
Click the ![]() icon to open the Division creation page.
icon to open the Division creation page.
The Partner and Mother Company are pre-populated. Enter the name of the Division. There is no maximum number of Divisions associated with a Mother Company, but the system requires at least one Division.
Customers
Click the icon to add a new Customer to an existing Division
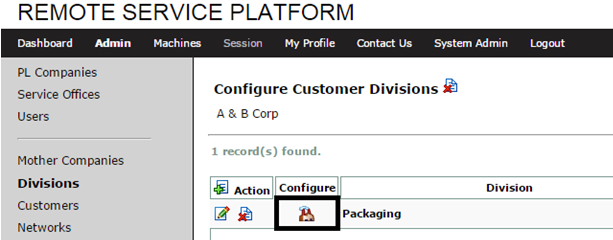
Click the ![]() icon to open the Customer creation page.
icon to open the Customer creation page.
The Mother Company and Division are pre-populated. Enter the Short, Official Name and Customer number of the Customer. All fields are required.
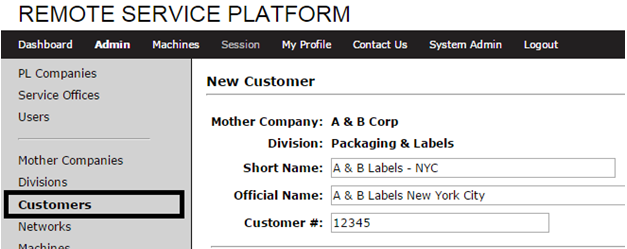
- Short Name – Common name of the Customer
- Official Name – Formal name of the Customer
- Customer # – Customer number in Partner EPR system
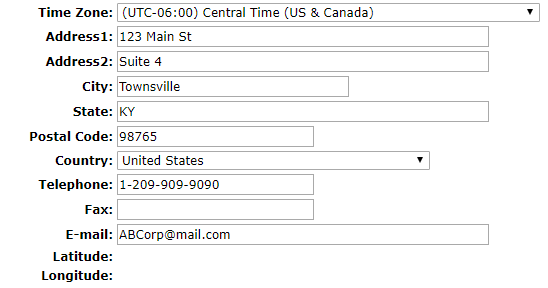
- Time Zone – Time Zone of the Customer Location.
- Address – Address of the Customer location including city, state, and zip
- Telephone/ Fax – Phone numbers of the Customer Location
- Email – Email of Main contact person at Customer Location
Networks
Your Amphion designated for Network use (green box, blackbox, or A14-K) as well as your facility’s network information will be needed to populate the Networks section of the system.
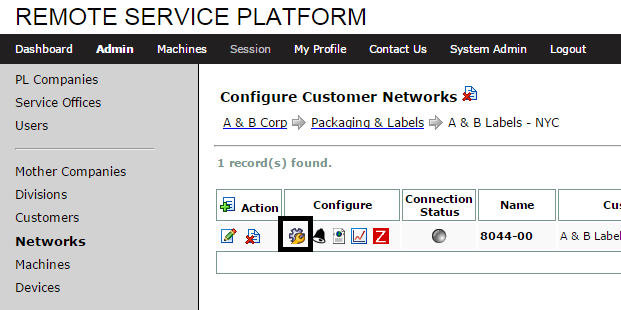
Click the icon to add a new Network to an existing Customer.

Click the ![]() icon to open the Network creation page. You can also click
icon to open the Network creation page. You can also click ![]() to edit existing network information.
to edit existing network information.
The Customer and Network Name are pre-populated. Select the correct Amphion Model and Configuration, and input the necessary IP information. If this is incorrect, the network will not be properly configured. IF the network uses DHCP, check the box provided.
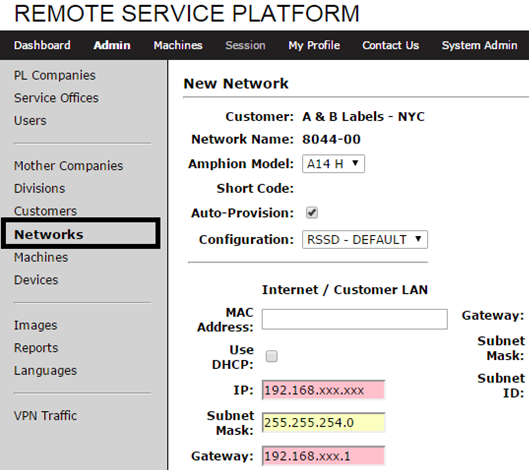
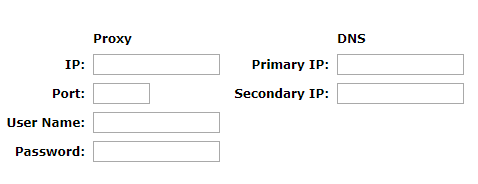
Enter Proxy or DNS network information, if necessary.
Enter notes on the network setup, if desired.
Machines
Click to add a new Machine to an existing Network. Note that each network can only provision 7 machines.
Once a machine has been created, you can start to activate machine products. Read more about product activations here.
Click the ![]() icon to open the Machine creation page. You can also click
icon to open the Machine creation page. You can also click ![]() to edit existing machine information.
to edit existing machine information.
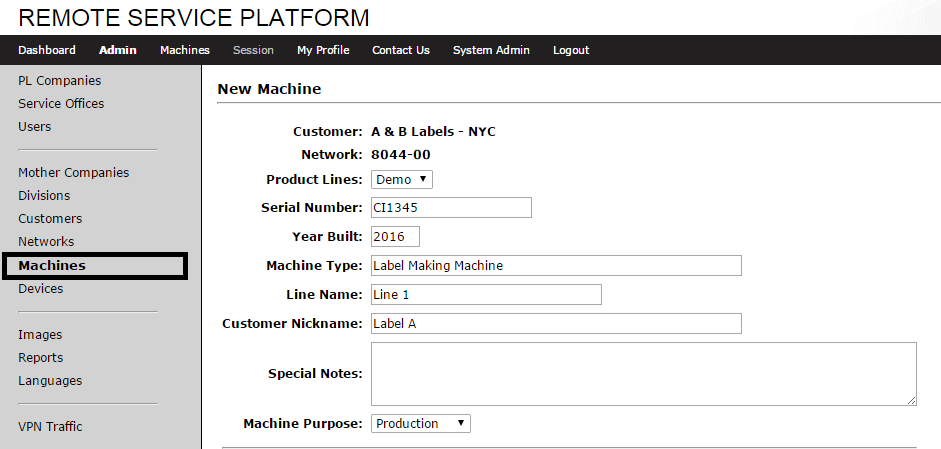
The Customer and Network details are pre-populated.
Enter machine details such as: Serial Number, Year Built, Machine Type, Line Name, Nickname, and customer notes.
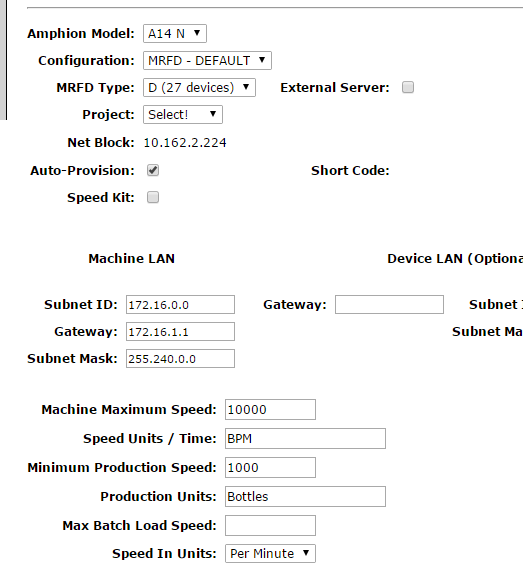
Select the Amphion Model, Type, and Project Number. Enter Machine LAN details. If these details are incorrect, the machine and its Amphion device will not configure properly.
Input the machine’s max/min speed, units/time, and production units.
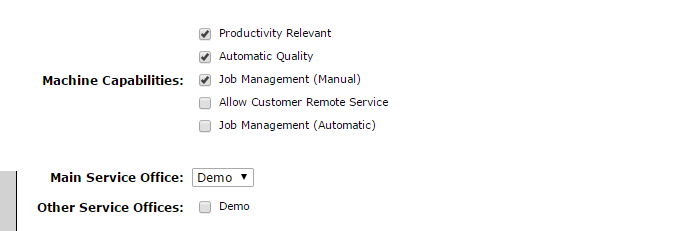
Select Machine Capabilities from the checkboxes provided. Note that these options may not be available to all users.
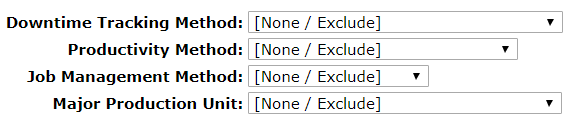
Select the machine’s Downtime Tracking, Productivity, and Job Management Methods from the drop-downs provided, and choose a Major Production Unit. If these don’t apply, leave the selections as None / Exclude.
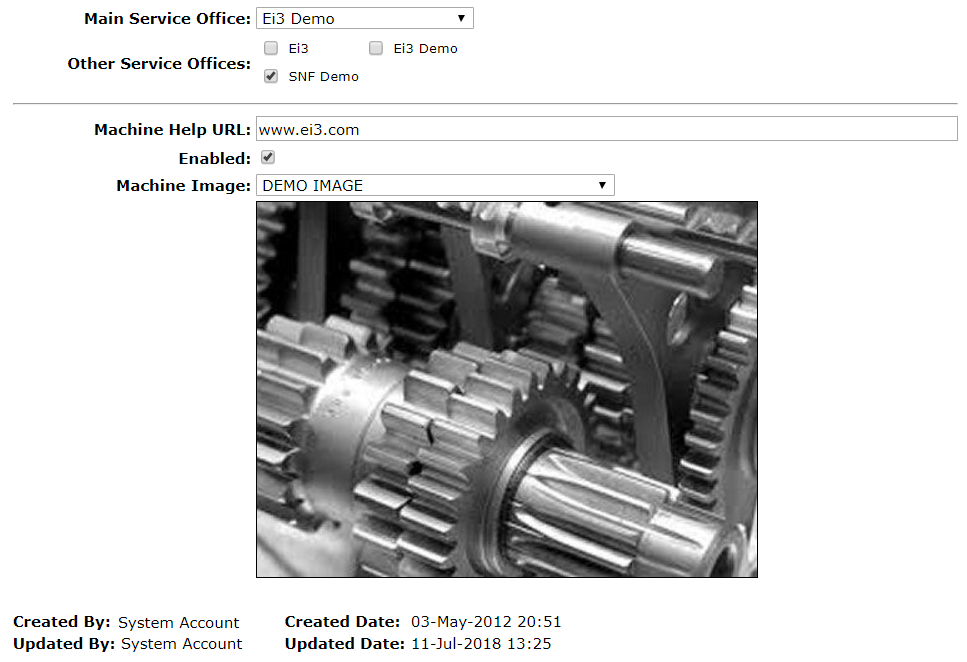
Select Main Service Office and machine image.
Devices
From the Machines page, click the ![]() icon to enter the Devices page.
icon to enter the Devices page.

Click the ![]() icon to open the new device creation page. You can also click
icon to open the new device creation page. You can also click ![]() to edit existing device information.
to edit existing device information.

Input each device’s name and location, manufacturer model, connection software, com type, local IP address, and port, if applicable.
Data Points

Data points are required in order to get machine data through to ei3. Most common points tracked include line speed, material count (total material, good, and/or bad material produced) as these are data points which are required for OEE data to be displayed for most machines. You can read more about data point setup and data point types in the articles linked below.
Once all these steps are completed, your entire setup is complete.
To initiate data collection on your machines and set up a machine with our products, contact ei3 for assistance.
