Note: Uploading a machine image can only be done by partner admins.
In order to upload a machine image, first log in to your ei3 SERVICE account.
Once you’re in, select Admin from the top menu, then navigate to the Images section on the left side of the screen.
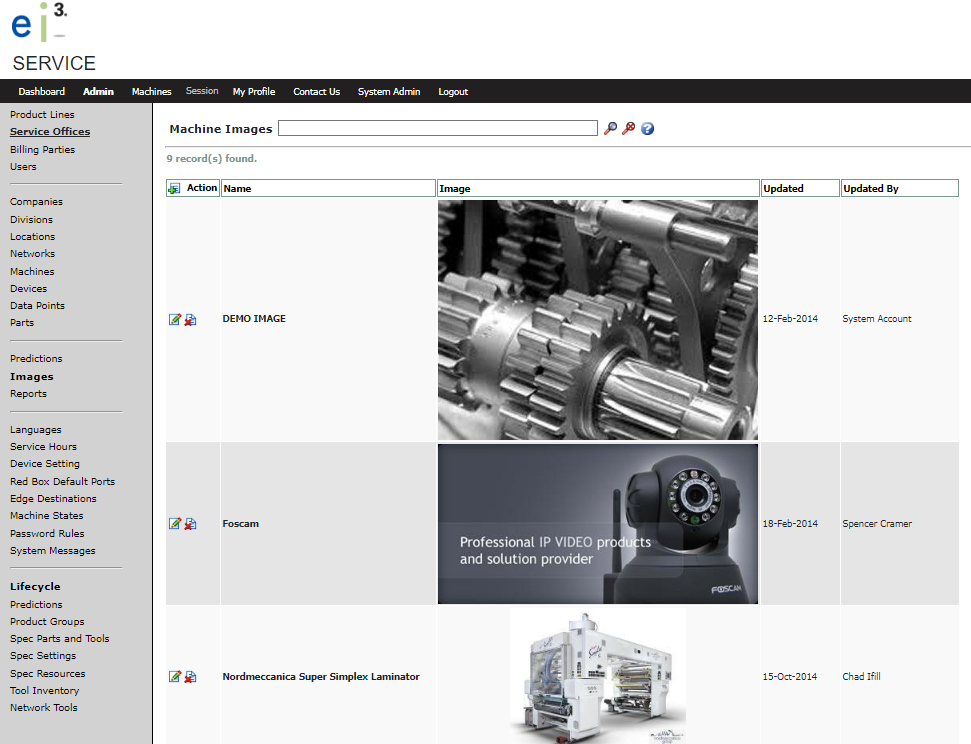
To upload a new machine image, click on the New ![]() icon located next to the Action column. This will bring you to the New Machine Image page, as seen below.
icon located next to the Action column. This will bring you to the New Machine Image page, as seen below.
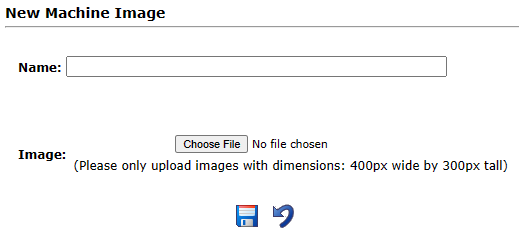
Give your image a Name that accurately represents the machine you’re working with, then add the image file itself by clicking on the “Choose File” button and select the image you want to upload from your files. When done, select the Save icon ![]() to save it.
to save it.
You must now associate this machine image with a specific machine. Navigate to the “Machines” section on the left side of your screen and search for the machine you want to link with your newly uploaded image.
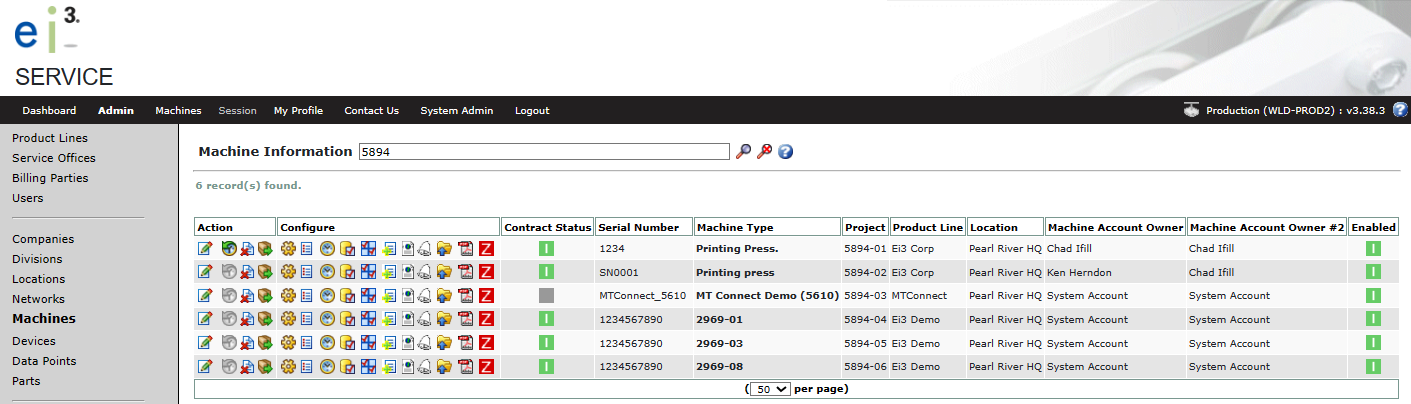
Find the machine you wish to add this image to, and click on its edit icon ![]() under the Action column, bringing you to the Edit Machine page. Scroll down to the end of the page, as seen below.
under the Action column, bringing you to the Edit Machine page. Scroll down to the end of the page, as seen below.
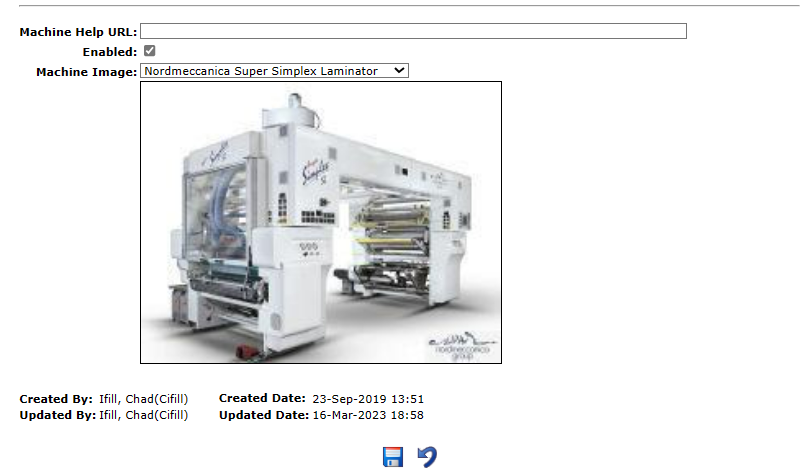
In the drop-down menu next to Machine Image, select the image that you have uploaded and click save ![]() .
.
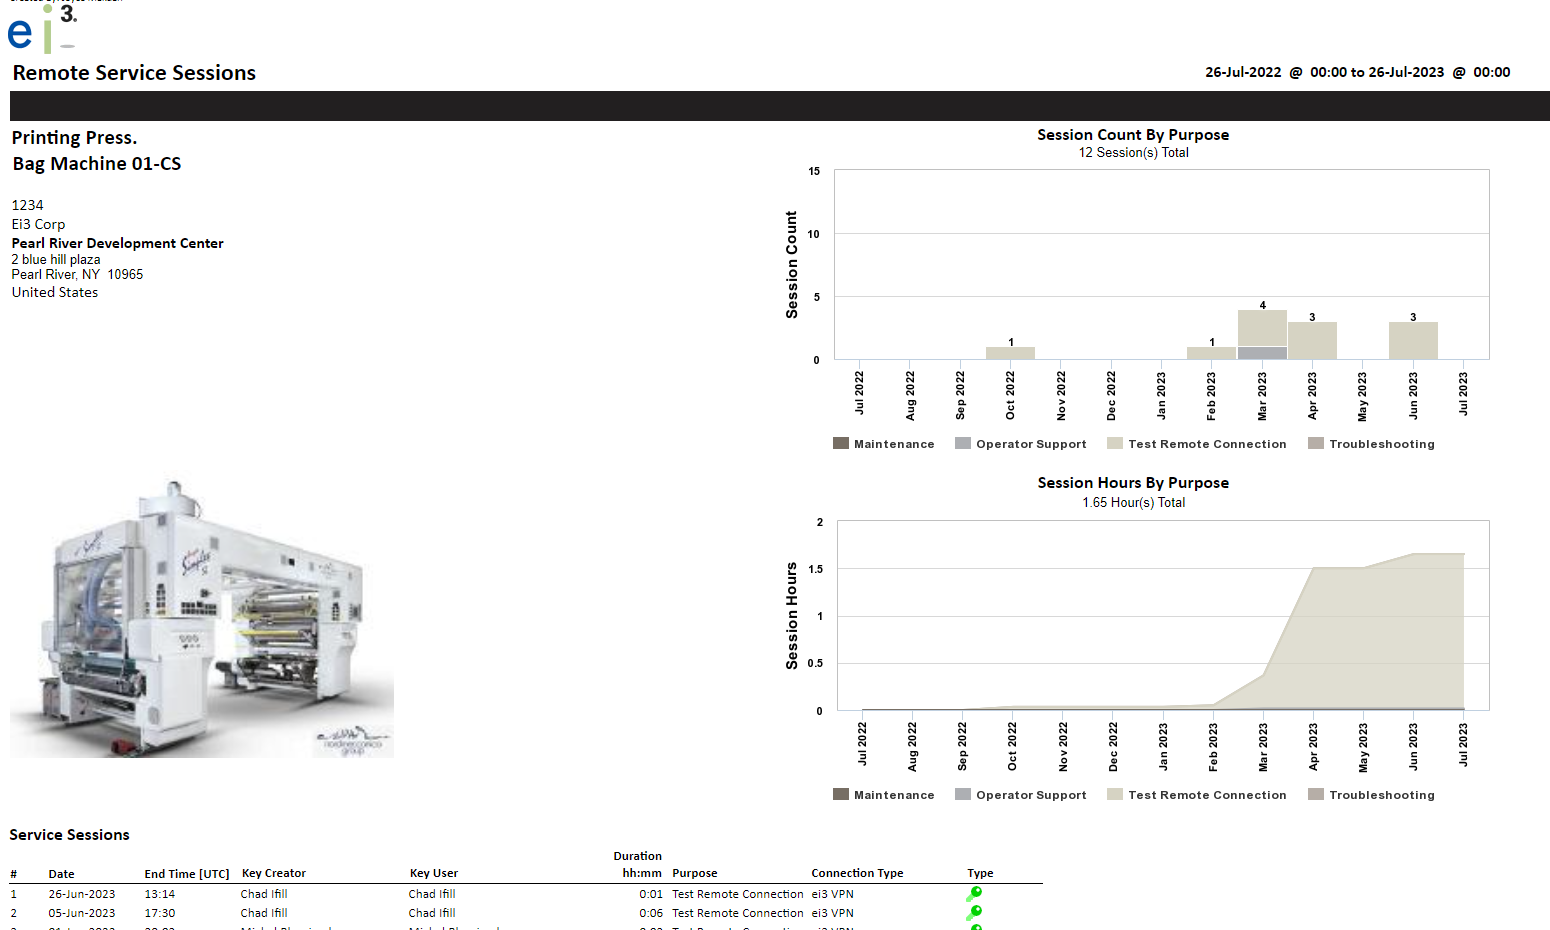
Remote Service Session Report
Your customers can view the machine image directly from our Remote Service Session Report.
Simply go to Service and click on Reports.

Click on the New Report icon ![]() to create a new report and follow the steps of configuring the report.
to create a new report and follow the steps of configuring the report.
Once the steps are completed, the customer can view the report or save it to be automatically sent to their email addresses. An example of the report is shown in the image below.