Alert Actions
Once an alert has been created, it will display on the main Alerts page in a list.
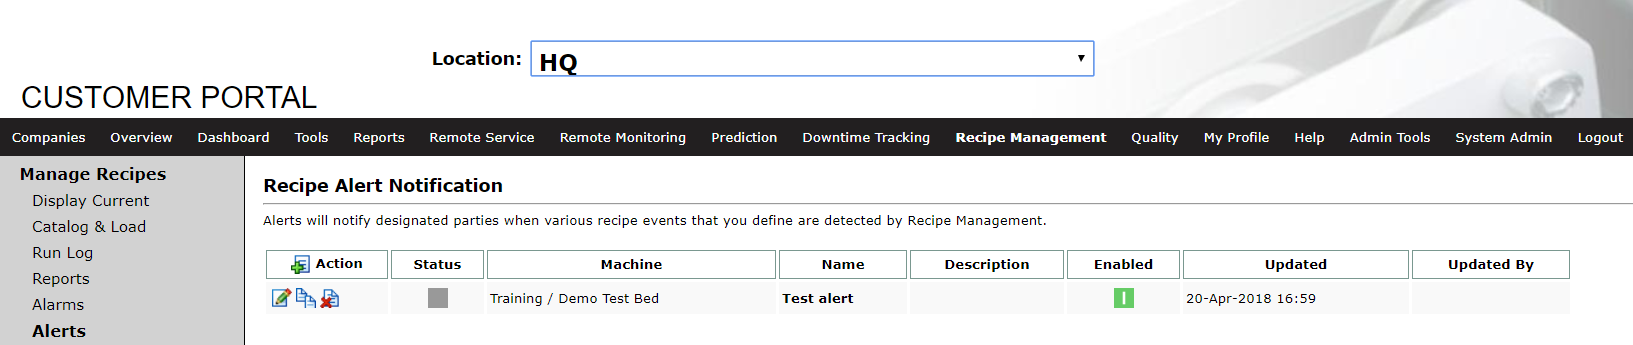
The symbols in the Action column provide the following functions:
Create a new alert. See Creating Alerts for more information on alert creation.![]() Edit an existing alert.
Edit an existing alert.![]() Copy an alert.
Copy an alert.![]() Delete an alert.
Delete an alert.
The Enabled column displays whether the alert is enabled or disabled. A green box ![]() signifies that the alert is enabled. To enable or disable an alert, see Alerts – Basic Information.
signifies that the alert is enabled. To enable or disable an alert, see Alerts – Basic Information.
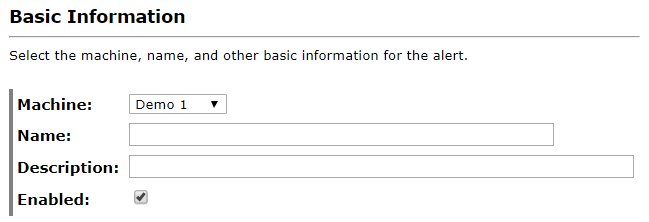
Creating Alerts
From the menu, select Recipe > Alerts.
Select the ![]() icon to create a new alert.
icon to create a new alert.
Basic Information
Users can enter alert information, select a machine, or choose to enable/disable the alert.
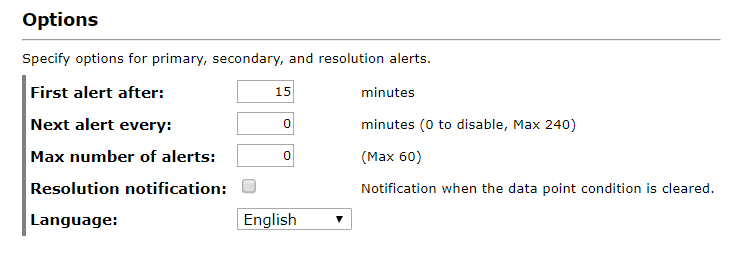
Options
Users can specify alert options – alert frequency, number of alerts, language, and more.
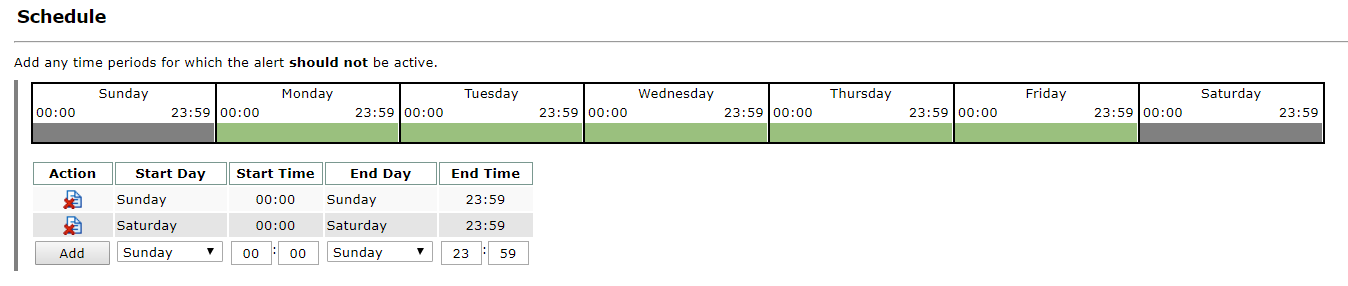
Alerts Schedule
Choose a time period during which alerts should be sent out. For instance, if a machine runs only five days a week and alerts should not be sent out on weekends, configure the Schedule section to match the machine run times.
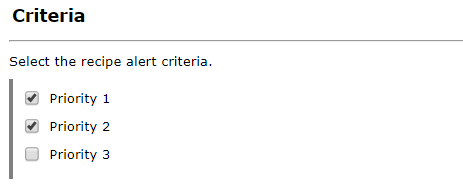
Criteria
Alerts can be triggered by any criteria of alarm priority levels. Click the check boxes to toggle whether the priority level is active in the alert.
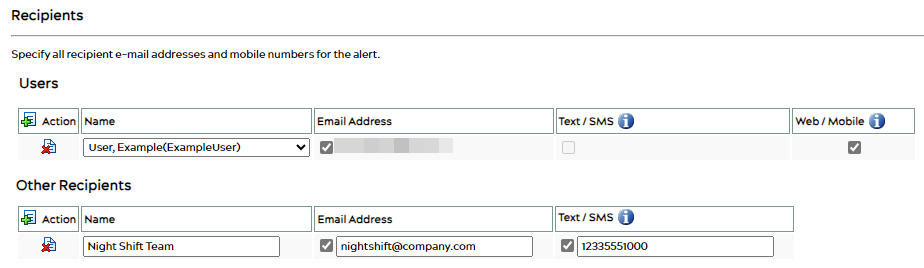
Recipients
Add alert recipients in the Recipients section. Email, SMS / text and mobile / web alerts are supported; text messaging fees may apply.
Once completed, hit the Save ![]() icon at the bottom of the page to save your alert.
icon at the bottom of the page to save your alert.
Not receiving an alert?
Read about Alert Status Information to ensure your alert is properly set up.
