While data exports for Remote Monitoring and Downtime Tracking are available, it’s also possible to export important machine data from the Reports menu. Use these ‘export-reports’ to generate reports in Excel-compatible formats which are capable of generating larger amounts of raw data from a selected time period.
A notification is sent to the user’s email address when completed with a link to log in and download the file.
If the email address for your user is not correct, you can change this information from the My Profile page.
Machine Data Export by Location
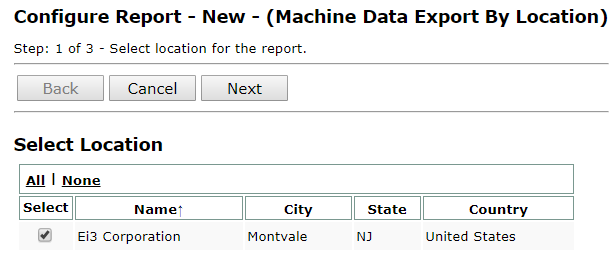
From the Customer Portal, navigate to the Reports page, and click on the Machine Data Export By Location report to open the report wizard.
You will need to choose options from the following report wizard steps:
- Select Location(s). Multiple selections can be made, if available.
- Select Machine(s). One or more selections can be made.
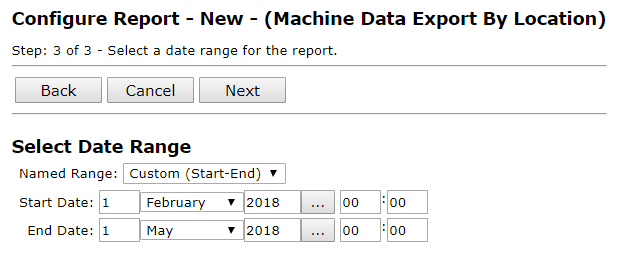
- Select Date Range. Use the drop-down menu to select from a variety of options, or use the calendar selection tool to choose custom dates.
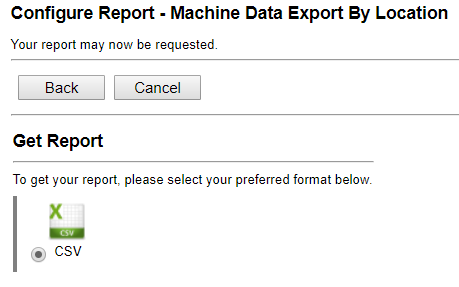
Get Report
Once all wizard steps have been completed, click the Export Data icon to complete the data export request. The downloaded file will be available in .CSV format.
A popup will appear in your browser to confirm the request completion.

Click OK, and an email will be sent to the address you have set for your profile within a few minutes.
You can also access the data export file from the Reports page, under the Download tab.

Files created in this manner will be available for 7 days after its creation date.
Quality Data Export by Location
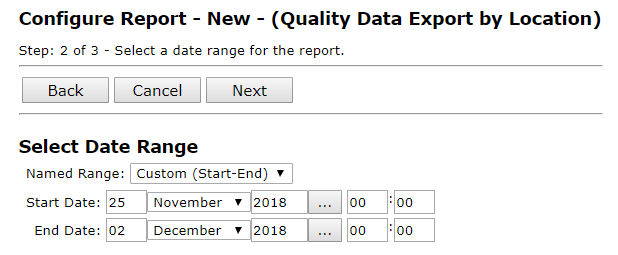
From the Customer Portal, navigate to the Reports page, and click on the Quality Data Export By Location report to open the report wizard.

You will need to choose options from the following report wizard steps:
- Select Location(s). Multiple selections can be made, if available.
- Select Date Range. Use the drop-down menu to select from a variety of options, or use the calendar selection tool to choose custom dates.
- Select Operations. Multiple options can be selected or deselected at the user’s preference.
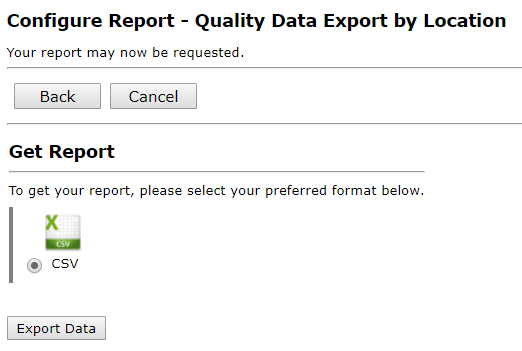
Get Report
Once all wizard steps have been completed, click the Export Data icon to complete the data export request. The downloaded file will be available in .CSV format.
A popup will appear in your browser to confirm the request completion.
Click OK, and an email will be sent to the address you have set for your profile within a few minutes.
You can also access the data export file from the Reports page, under the Download tab.

Files created in this manner will be available for 7 days after its creation date.
