
PRODUCTION Alerts
Note: This alert function requires the PRODUCTION product to be active on the machine.
PRODUCTION Alerts let you receive a notification the moment a machine’s productivity slips. They watch OEE, Quality, Performance, Availability, and Scrap Rate, and fire when a metric crosses a limit you set. Notifications are sent out as SMS, email, or mobile notification.
This functionality can be found in the Customer Portal in PRODUCTION > Alerts. Every enabled alert is re-evaluated automatically every few minutes against the machine’s latest productivity data, so a notification reaches you shortly after a threshold is crossed — with no dashboards to watch.
- What You Can Watch
- When Alerts Fire
- Alert Actions
- Creating & Editing Alerts
- Notification Options
- Recipients & Channels
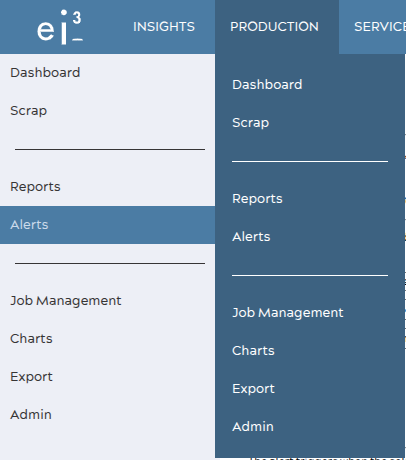
PRODUCTION > Alerts in the portal menu.
What You Can Watch
Each alert tracks one metric over one data range, and fires when the value meets the condition you choose. The available metrics are:
|
Metric |
What it measures |
|---|---|
|
OEE |
Overall Equipment Effectiveness — the combined measure of availability, performance, and quality. |
|
Quality |
The share of good output out of everything produced. |
|
Performance |
Actual output speed against the machine’s ideal rate. |
|
Availability |
Running time against planned production time. |
|
Scrap Rate |
The share of output rejected as scrap. |
Data Range
The data range sets the window the metric is measured over:
- Shift — the value for the current production shift.
- Day @ 1st Shift — the value for the production day, counted from the start of the first shift.
- Day @ Midnight — the value for the calendar day, counted from midnight.
Conditions
The condition decides when the alert fires and which limit field you fill in. Limits are entered as percentages — type 65, not 0.65. The field you don’t need is disabled automatically.
|
Condition |
Value goes in |
Fires when the current value is… |
|---|---|---|
|
< |
Low Limit |
below the limit — e.g. OEE under 65%. |
|
<= |
Low Limit |
at or below the limit. |
|
> |
High Limit |
above the limit — e.g. Scrap Rate over 5%. |
|
>= |
High Limit |
at or above the limit. |
|
BETWEEN |
Low & High Limit |
inside the low–high range. |
|
NOT BETWEEN |
Low & High Limit |
outside the low–high range. |
When Alerts Fire
Two rules keep alerts meaningful rather than noisy:
- Warm-up. A shift or day is only evaluated once it has run for a minimum time — 15 minutes by default (configurable per partner). A fresh shift therefore stays quiet for its first minutes by design; otherwise a single early stop would drag OEE to near zero and trip every threshold.
- Stale data. If the machine stops sending data, an alert that was active clears itself after about 10 minutes without the metric recovering — so you are not left with an alert stuck on for a machine that has simply gone quiet.
The Alerts List
The Alerts page lists every productivity alert for the selected location. Use the Location selector at the top to switch machines. Each row shows the alert’s name, its machine, when it was last changed, and two state indicators.
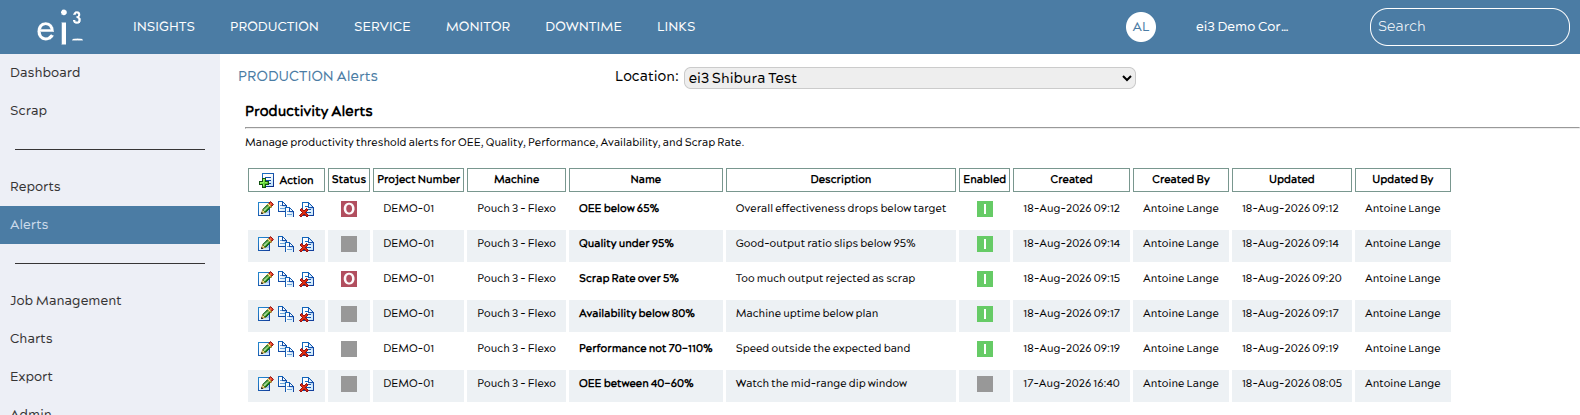 The Productivity Alerts list for a location.
Two columns tell you the alert’s state at a glance:
- The Enabled column displays whether the alert is enabled (a green icon) or disabled (a grey icon). A disabled alert keeps its settings but never notifies.
- The Status column indicates whether the alert is currently in an “active” state — its condition is being met right now (a red icon) — or clear (a grey icon).
Alert Actions
The symbols in the Action column provide the following functions:
|
Action |
What it does |
|---|---|
|
New |
Create a productivity alert for the selected machine. |
|
Edit |
Open an existing alert to change its metric, limits, schedule, or recipients. |
|
Copy |
Duplicate an alert as a starting point for a similar one. |
|
Delete |
Remove an alert permanently. |
Creating & Editing Alerts
Choose New (or Edit on an existing row) to open the alert form. It is organized into a few short sections.
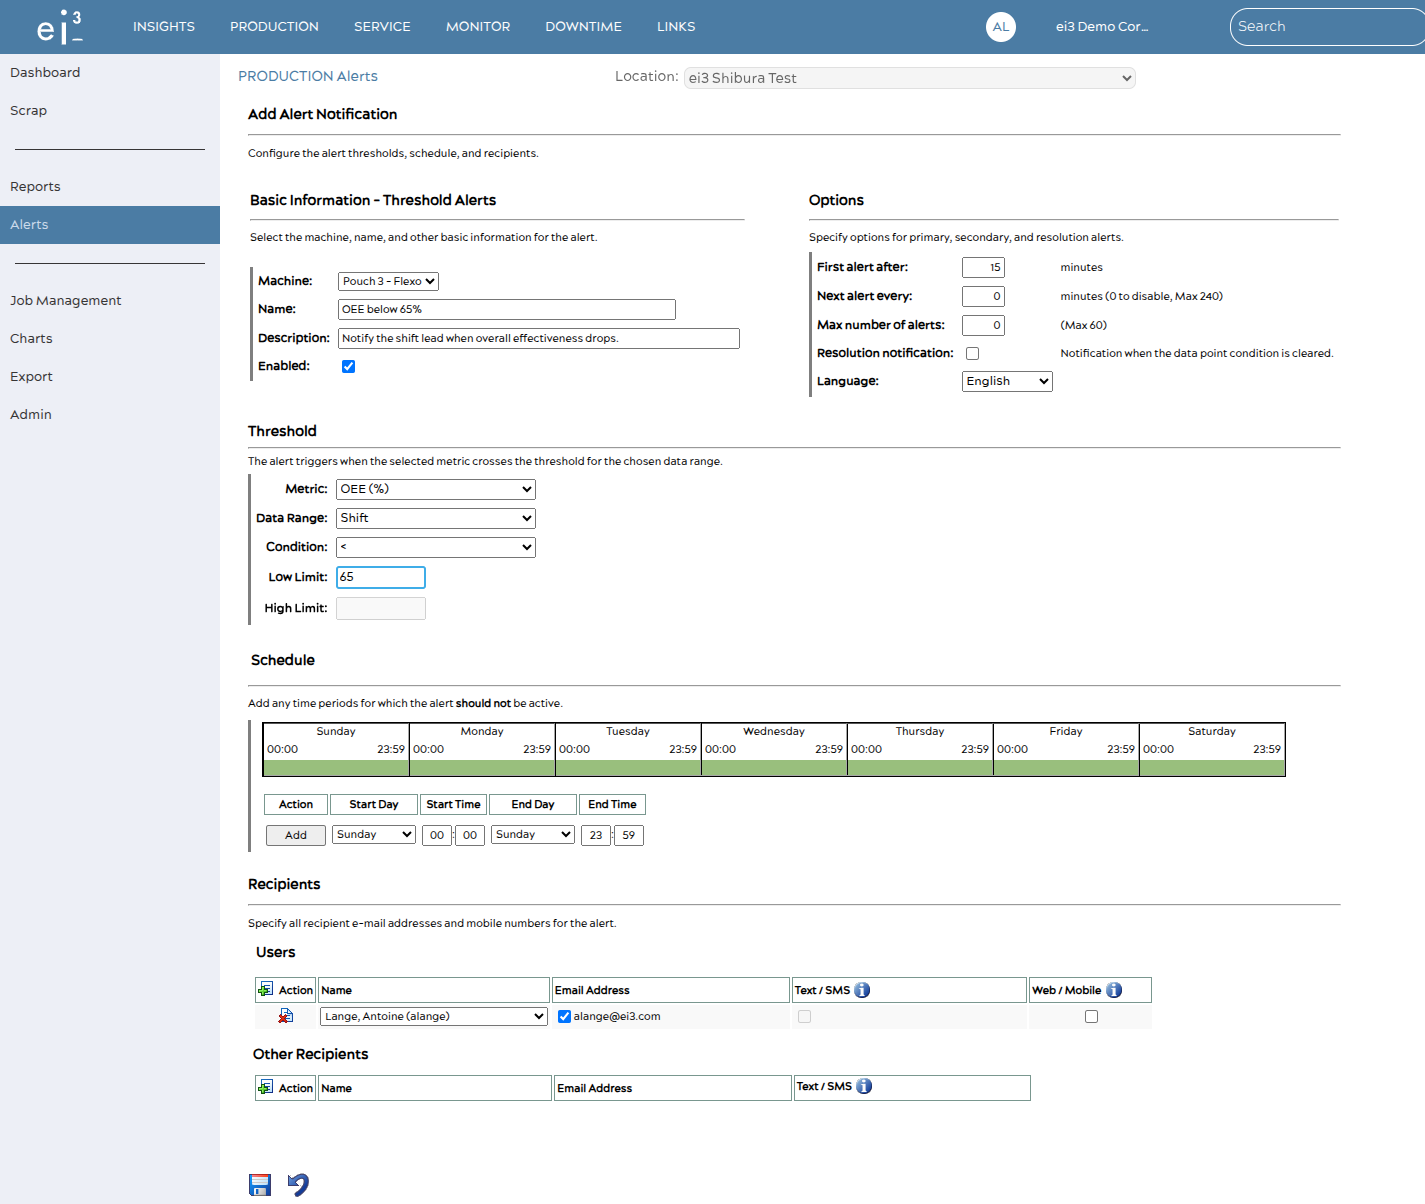 The Add Alert Notification page.
- Basic Information Select the machine, give the alert a clear name (and an optional description), and keep Enabled checked so it starts watching right away.
- Threshold Pick the Metric, the Data Range, and the Condition, then enter the limit as a percentage. < / <= use the Low Limit; > / >= use the High Limit; BETWEEN / NOT BETWEEN use both. The unused field is disabled for you.
- Options Control how often the alert notifies you — see Notification Options below.
- Schedule Optionally add time periods during which the alert should not be active — see Blackout Schedule.
- Recipients Choose who is notified and on which channels, then save with the disk icon at the bottom of the form.
Notification Options
The Options section shapes how often you hear from an alert, so a persistent problem doesn’t flood your inbox:
- First alert after — how many minutes the condition must hold before the first notification is sent. A short delay filters out brief blips.
- Next alert every — how many minutes to wait between repeat notifications while the condition stays active (maximum 240). Set it to 0 to send a single notification and not repeat; doing so also sets Max number of alerts to 0.
- Max number of alerts — a cap on how many notifications a single active episode will send (maximum 60).
- Resolution notification — when checked, sends a follow-up as soon as the metric returns to normal, so you know the issue cleared.
- Language — the language the notification is written in.
Recipients & Channels
An alert can notify ei3 users and other contacts over three channels — email, SMS / text, and web / mobile push — reusing the same notification setup as every other ei3 alert. SMS reaches only recipients who have a mobile number on their profile; for anyone without one, the text option stays unavailable. Each recipient controls their own delivery: a recipient can hush an alert for themselves without affecting anyone else, or unsubscribe from it entirely.
Blackout Schedule
Under Schedule, you can add any time periods for which the alert should not be active — for example, outside a plant’s operating hours. The condition keeps being evaluated during a blackout; notifications simply resume once the window ends.
The Notification Email
When an alert fires, recipients receive a message identifying the machine, the metric and its measured value (shown as a percentage), and the threshold that was crossed — so it is clear what happened and where at a glance.
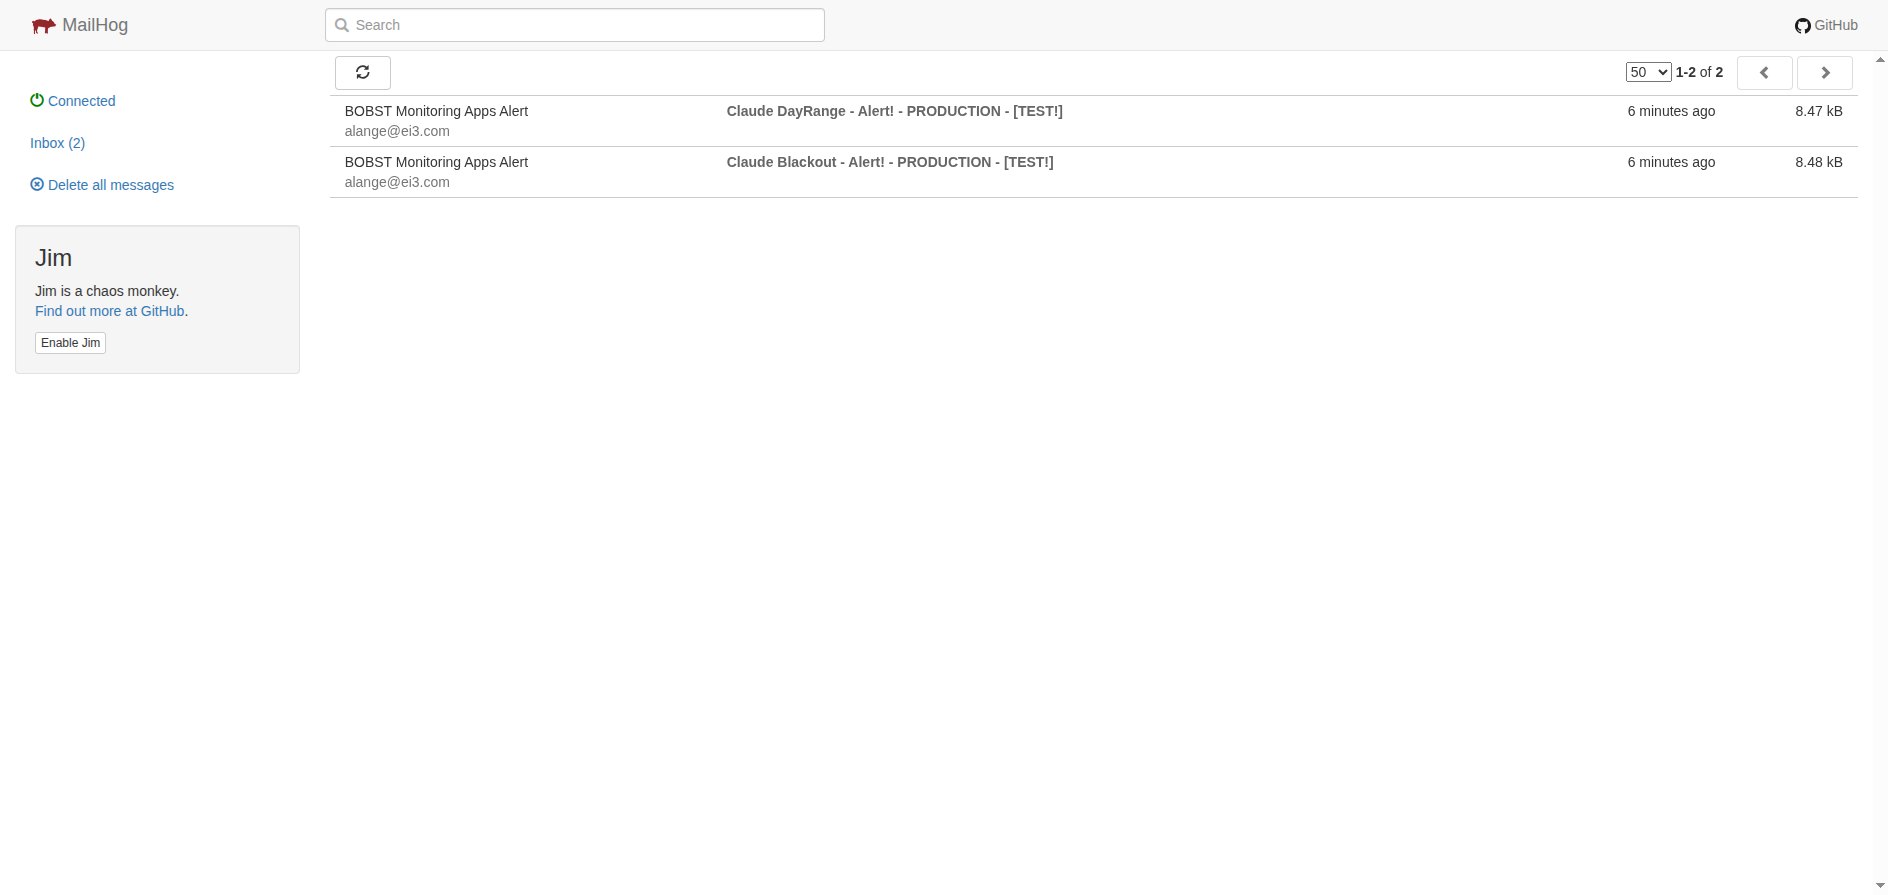 Example of a productivity alert email.